MDflow MCP Setup for Cursor, Claude Desktop, and Codex
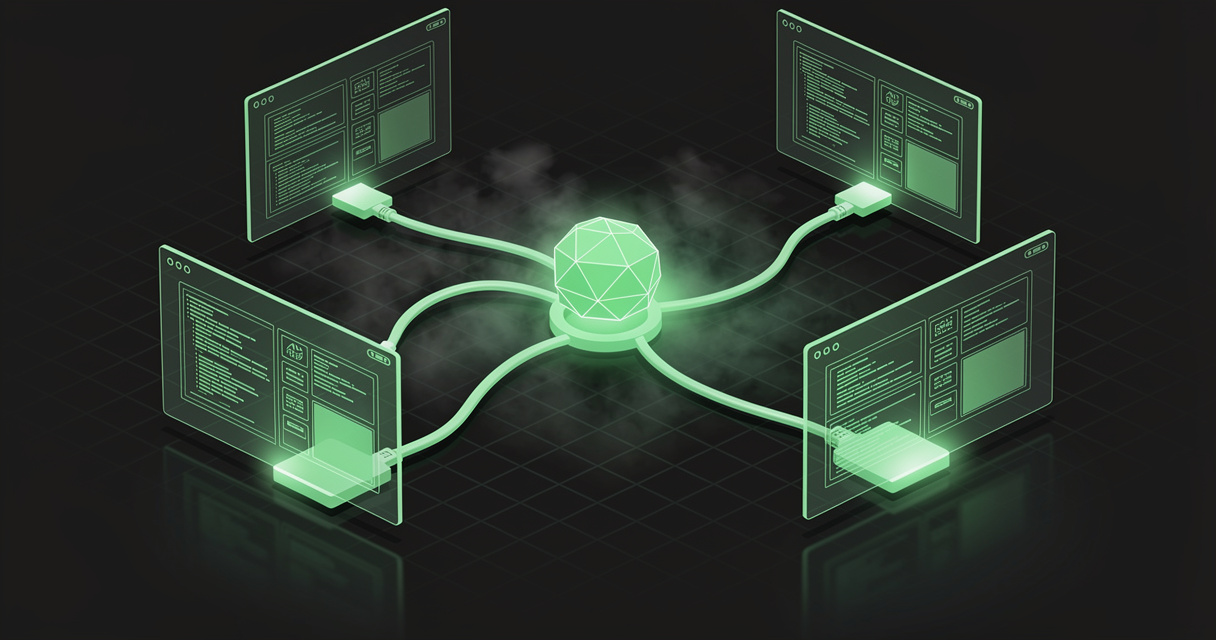
If you have decided that connecting your AI coding tools to a real markdown knowledge base is worth doing, the only thing between you and a working setup is a config file. This guide gives you the exact configuration for Cursor, Claude Desktop, and Codex, both the hosted remote server and the local option, plus a short troubleshooting section for when a client stubbornly refuses to see the tools.
MDflow ships a first-party Model Context Protocol server, so once it is wired in, your agent can read your documents, use folder descriptions as context, and write new markdown back — all without leaving the editor.
TL;DR — Create a Personal Access Token in MDflow Settings (starts with
mdf_). For the hosted server, point your client athttps://mdflow.cz/api/mcpwith anAuthorization: Bearerheader — Cursor and Claude Code do this natively, Claude Desktop bridges viamcp-remote, and Codex uses the local stdio server. Restart the client, ask it to "get context from mdflow," and you are done. Full copy-paste config for each client below. Start free.
What is MDflow's MCP server?
MDflow's MCP server is a Model Context Protocol endpoint that lets any MCP-capable AI client read and write your MDflow workspace. It exposes a set of tools — mdflow_get_context, mdflow_list_folders, mdflow_create_document, and more — that an agent calls to fetch markdown, rank folder descriptions as context, and create or update documents. It comes in two forms:
- Hosted remote server at
https://mdflow.cz/api/mcp, over the MCP Streamable HTTP transport. Nothing to install, always up to date, works with any client that can send anAuthorizationheader. Requires an MDflow Pro account. - Local stdio server, a small Node.js process you run on your own machine. It exposes the same tools and talks to the same API — the right choice for clients that launch a subprocess, and for people who prefer a process they control.
Both authenticate with a Personal Access Token (a mdf_ key you create in Settings). The token belongs in your client config, never in a chat prompt.
Which form each client uses:
| Client | Recommended setup | Transport |
|---|---|---|
| Cursor | Hosted remote server | Streamable HTTP (native) |
| Claude Desktop | Hosted remote via mcp-remote, or local stdio | stdio bridge / stdio |
| Codex | Local stdio server | stdio |
| Claude Code | Hosted remote server | Streamable HTTP (native) |
Before you start: create a Personal Access Token
Every setup below needs a token. Do this once:
- Sign in to MDflow and open Settings.
- Create a Personal Access Token. It starts with
mdf_. - Copy it now — you will not see it again.
Security: the token grants workspace-level access, including write, delete, and sharing operations. Keep it in your MCP client configuration only. The server deliberately refuses a token passed as a tool argument, and requests without a valid token receive a
401with aWWW-Authenticatechallenge.
Setting up MDflow's MCP server in Cursor
Cursor speaks the remote MCP Streamable HTTP transport natively, so the hosted server is the simplest path — no bridge, no local process. Add the mdflow entry to your MCP config:
- Global (all projects):
~/.cursor/mcp.json - Per project:
.cursor/mcp.jsonin the repo root
{
  "mcpServers": {
    "mdflow": {
      "url": "https://mdflow.cz/api/mcp",
      "headers": { "Authorization": "Bearer mdf_your_token_here" }
    }
  }
}
Save the file, then reload Cursor (or toggle the server in Settings → MCP). When it connects, the mdflow_* tools show up in the tool list, and you can prompt the agent directly:
Use mdflow to get context about my API documentation.
Setting up MDflow's MCP server in Claude Desktop
Claude Desktop does not yet speak remote MCP natively, so you have two good options.
Option A — Hosted server via the mcp-remote bridge (recommended)
The mcp-remote helper turns a stdio connection into a remote HTTP one, letting Claude Desktop reach the hosted server. It needs Node.js installed. Open Settings → Developer → Edit Config and add:
{
  "mcpServers": {
    "mdflow": {
      "command": "npx",
      "args": [
        "mcp-remote",
        "https://mdflow.cz/api/mcp",
        "--header",
        "Authorization:Bearer mdf_your_token_here"
      ]
    }
  }
}
This keeps you on the always-up-to-date hosted server without running your own process long-term.
Option B — Local stdio server
Prefer a process entirely on your own machine? Download the local server once:
mkdir mdflow-mcp && cd mdflow-mcp
curl -O https://mdflow.cz/mcp/server.mjs
curl -O https://mdflow.cz/mcp/package.json
curl -O https://mdflow.cz/mcp/README.md
npm install
Run pwd inside the folder to get its absolute path, then point Claude Desktop at server.mjs. The config lives at ~/Library/Application Support/Claude/claude_desktop_config.json (macOS) or %APPDATA%\Claude\claude_desktop_config.json (Windows):
{
  "mcpServers": {
    "mdflow": {
      "command": "node",
      "args": ["/absolute/path/to/mdflow-mcp/server.mjs"],
      "env": {
        "MDFLOW_API_TOKEN": "mdf_your_token_here"
      }
    }
  }
}
Restart Claude Desktop after either option and ask it to "get information about onboarding from mdflow."
Setting up MDflow's MCP server in Codex
Codex connects to MCP servers that launch a subprocess, so use the local stdio server. Download it exactly as in Option B above (the curl + npm install block), then add the server to ~/.codex/config.toml. Codex uses TOML, not JSON:
[mcp_servers.mdflow]
command = "node"
args = ["/absolute/path/to/mdflow-mcp/server.mjs"]
env = { MDFLOW_API_TOKEN = "mdf_your_token_here" }
Replace /absolute/path/to/… with the output of pwd from your mdflow-mcp folder, restart Codex, and the mdflow tools become available.
Bonus: Claude Code in one line
If you also use Claude Code, it speaks remote MCP natively — no file to edit. A single command wires up the hosted server for the current project:
claude mcp add --transport http mdflow https://mdflow.cz/api/mcp \
  --header "Authorization: Bearer mdf_your_token_here"
Verifying the connection
Once your client restarts, confirm the tools are live by asking the agent to do something only MDflow can answer:
Get information about onboarding from mdflow.
Use mdflow to get context about my API documentation.
Create a document called meeting-notes.md in my project folder.
Update my project folder description in mdflow.
If the agent lists or fetches your documents, you are connected. The workhorse tool is mdflow_get_context: give it a topic and it ranks folder descriptions first, then folder names and document titles, then returns the best-matching markdown bodies plus structured JSON. That is why a good folder description pays off immediately — it is the primary signal the agent retrieves against.
Troubleshooting
The tools don't appear after editing the config. Fully quit and reopen the client — most read MCP config only at startup. In Cursor, also check Settings → MCP and toggle the server off and on.
401 Unauthorized or a WWW-Authenticate challenge.
The token is missing, malformed, or expired. Confirm it starts with mdf_, that there is exactly one space in Bearer mdf_..., and that you are on an MDflow Pro account (the remote server requires it). Regenerate the token in Settings if unsure.
Claude Desktop can't find npx or node.
The mcp-remote bridge and the local server both need Node.js on your PATH. Install Node.js 18+ and restart the app. On macOS, launching the client from a GUI can miss a shell-only PATH — installing Node via a system installer (not only a version manager) avoids this.
Codex/Claude Desktop local server: "cannot find module" or exits immediately.
The args path must be the absolute path to server.mjs, and you must have run npm install in that folder first (it pulls in @modelcontextprotocol/sdk and zod). Run pwd in mdflow-mcp to get the exact path.
429 Too Many Requests.
The server rate-limits to 60 requests per minute per token. The response carries a Retry-After value in seconds — wait that long and retry.
The ChatGPT app won't connect with my token.
The ChatGPT app's custom connectors authenticate over OAuth, not a static token. Rather than pasting a Personal Access Token, add https://mdflow.cz/api/mcp as a custom connector and sign in — MDflow issues the token for you (OAuth is in beta and needs an MDflow Pro account). Prefer a token? Cursor, Claude Code, Claude Desktop (via mcp-remote), Codex, and the OpenAI Responses API all take a Personal Access Token.
How MDflow fits
Setup is only worth doing if what you connect to is genuinely agent-ready. MDflow was built for exactly this.
What lines up today
Markdown-native storage. Every document is plain-text markdown — what you write is what the agent reads, no lossy export step. Append .md to any shared link and you get the raw document with YAML frontmatter over open CORS.
Folder descriptions as context. Each folder carries a description that defines the intended context for the documents inside it, and folders nest to any depth. Those descriptions cascade: open any folder and MDflow returns a compounded description running from the workspace down to where you are. mdflow_get_context ranks these descriptions highest, which is why the retrieval is fast and accurate without a vector database. See folder descriptions as agent context.
One server, every client. The same hosted endpoint and the same token power Cursor, Claude Desktop, Codex, Claude Code, and the OpenAI Responses API — a single source of truth your whole toolchain reads and writes. The full tool list and behavior live in the MCP documentation.
Producers, not just readers. The tools are not read-only. Agents can create, rename, move, and update documents, edit folder descriptions, and manage public and private sharing — the same operations exposed over the HTTP API. Every write is captured in automatic version history, so an agent edit is always reversible.
Where we are headed
This is direction, not a dated commitment: broader native remote-MCP support as more clients adopt Streamable HTTP, scoped read-only and folder-limited Personal Access Tokens, and richer collection-level context so an agent can pull a whole curated bundle in one call. The Web Clipper already turns pages into clean markdown; the throughline is making every capture instantly agent-readable.
The bottom line
Connecting your AI tools to MDflow is a one-file change per client: a Personal Access Token, a config block, a restart. Cursor and Claude Code use the hosted server natively; Claude Desktop bridges through mcp-remote or runs the local server; Codex uses the local stdio server. From there, your agent reads your real markdown, ranks it by folder context, and writes new documents back — grounded in knowledge you own.
Start free · Connect an AI agent · Read the API docs
Frequently asked questions
How do I set up MDflow's MCP server in Cursor?
Create an MDflow Personal Access Token in Settings, then add a mcpServers entry to ~/.cursor/mcp.json (global) or .cursor/mcp.json (per project). Cursor speaks Streamable HTTP natively, so point the url at https://mdflow.cz/api/mcp and pass your token in an Authorization: Bearer header. Restart Cursor and the mdflow tools appear.
How do I connect Claude Desktop to MDflow over MCP?
Claude Desktop does not speak remote MCP natively, so you bridge to the hosted server with the mcp-remote helper. In Settings → Developer → Edit Config, add an mcpServers entry that runs npx mcp-remote against https://mdflow.cz/api/mcp with your token in an Authorization header. This requires Node.js. Alternatively, run the local stdio server and point Claude Desktop at server.mjs.
Do I need a Pro account to use the remote MCP server?
Yes. The hosted remote MCP server at https://mdflow.cz/api/mcp requires an MDflow Pro account, because Personal Access Tokens grant workspace-level access including write, delete, and sharing operations. The local stdio server talks to the same API and uses the same token.
What is the difference between the remote and local MCP server?
The remote server is hosted by MDflow at https://mdflow.cz/api/mcp over Streamable HTTP — nothing to install, always up to date, and works with any client that can send an Authorization header. The local server is a small Node.js stdio process you run on your own machine; it exposes the same tools and talks to the same API, and suits clients that launch a subprocess.
Where do I put my MDflow Personal Access Token?
Only in your MCP client's configuration file — the url headers, the mcp-remote --header argument, or the MDFLOW_API_TOKEN environment variable. Never paste it into a chat prompt or a tool argument; the server deliberately refuses a token passed as a tool parameter.
Further reading
- Model Context Protocol — the open standard MDflow's server implements
- mcp-remote — the stdio-to-HTTP bridge used by Claude Desktop
- MDflow — MCP documentation · API documentation · How to connect ChatGPT and Claude to your notes · Folder descriptions as agent context